Propagation | Black Raspberries


A few weeks ago, Matthew, Fox and I were exploring on the piece of property in which we added to the existing we already own, and I stumbled upon a decent size Black Raspberry bush. I took time to inspect it and run it through my plant app and given its description knew that I wanted to propagate and enhance its coverage (ideally on trellis in the new garden that is yet to be built). I truly find exhilaration in finding, identifying and utilizing native herbs and plants and feel some sense of completion, as though I’ve connected with land and God somehow in a way that was always intended.
THE BLACK RASPBERRY
The black raspberry prefers partial sun and highly organic soil, though the plant itself is quite tolerant to drought and cold. In full exposure or intense shade, it may fail to produce fruit. Notice that the black raspberry is referred to as a ‘fruit’ and not a ‘berry.’ Technically, the black raspberry—like its siblings in the Rupus genus that includes the likes of blackberries and dewberries—is not a berry. They are botanically known as aggregate fruits, meaning they are composed of many drupelets (bumps on the fruit).
It is said to be a long lasting fruit, not perishing as quickly as some other berries and best used in jams and jellies due to their great sweetness. Who wouldn’t be excited to propagate!
PROPOGATION

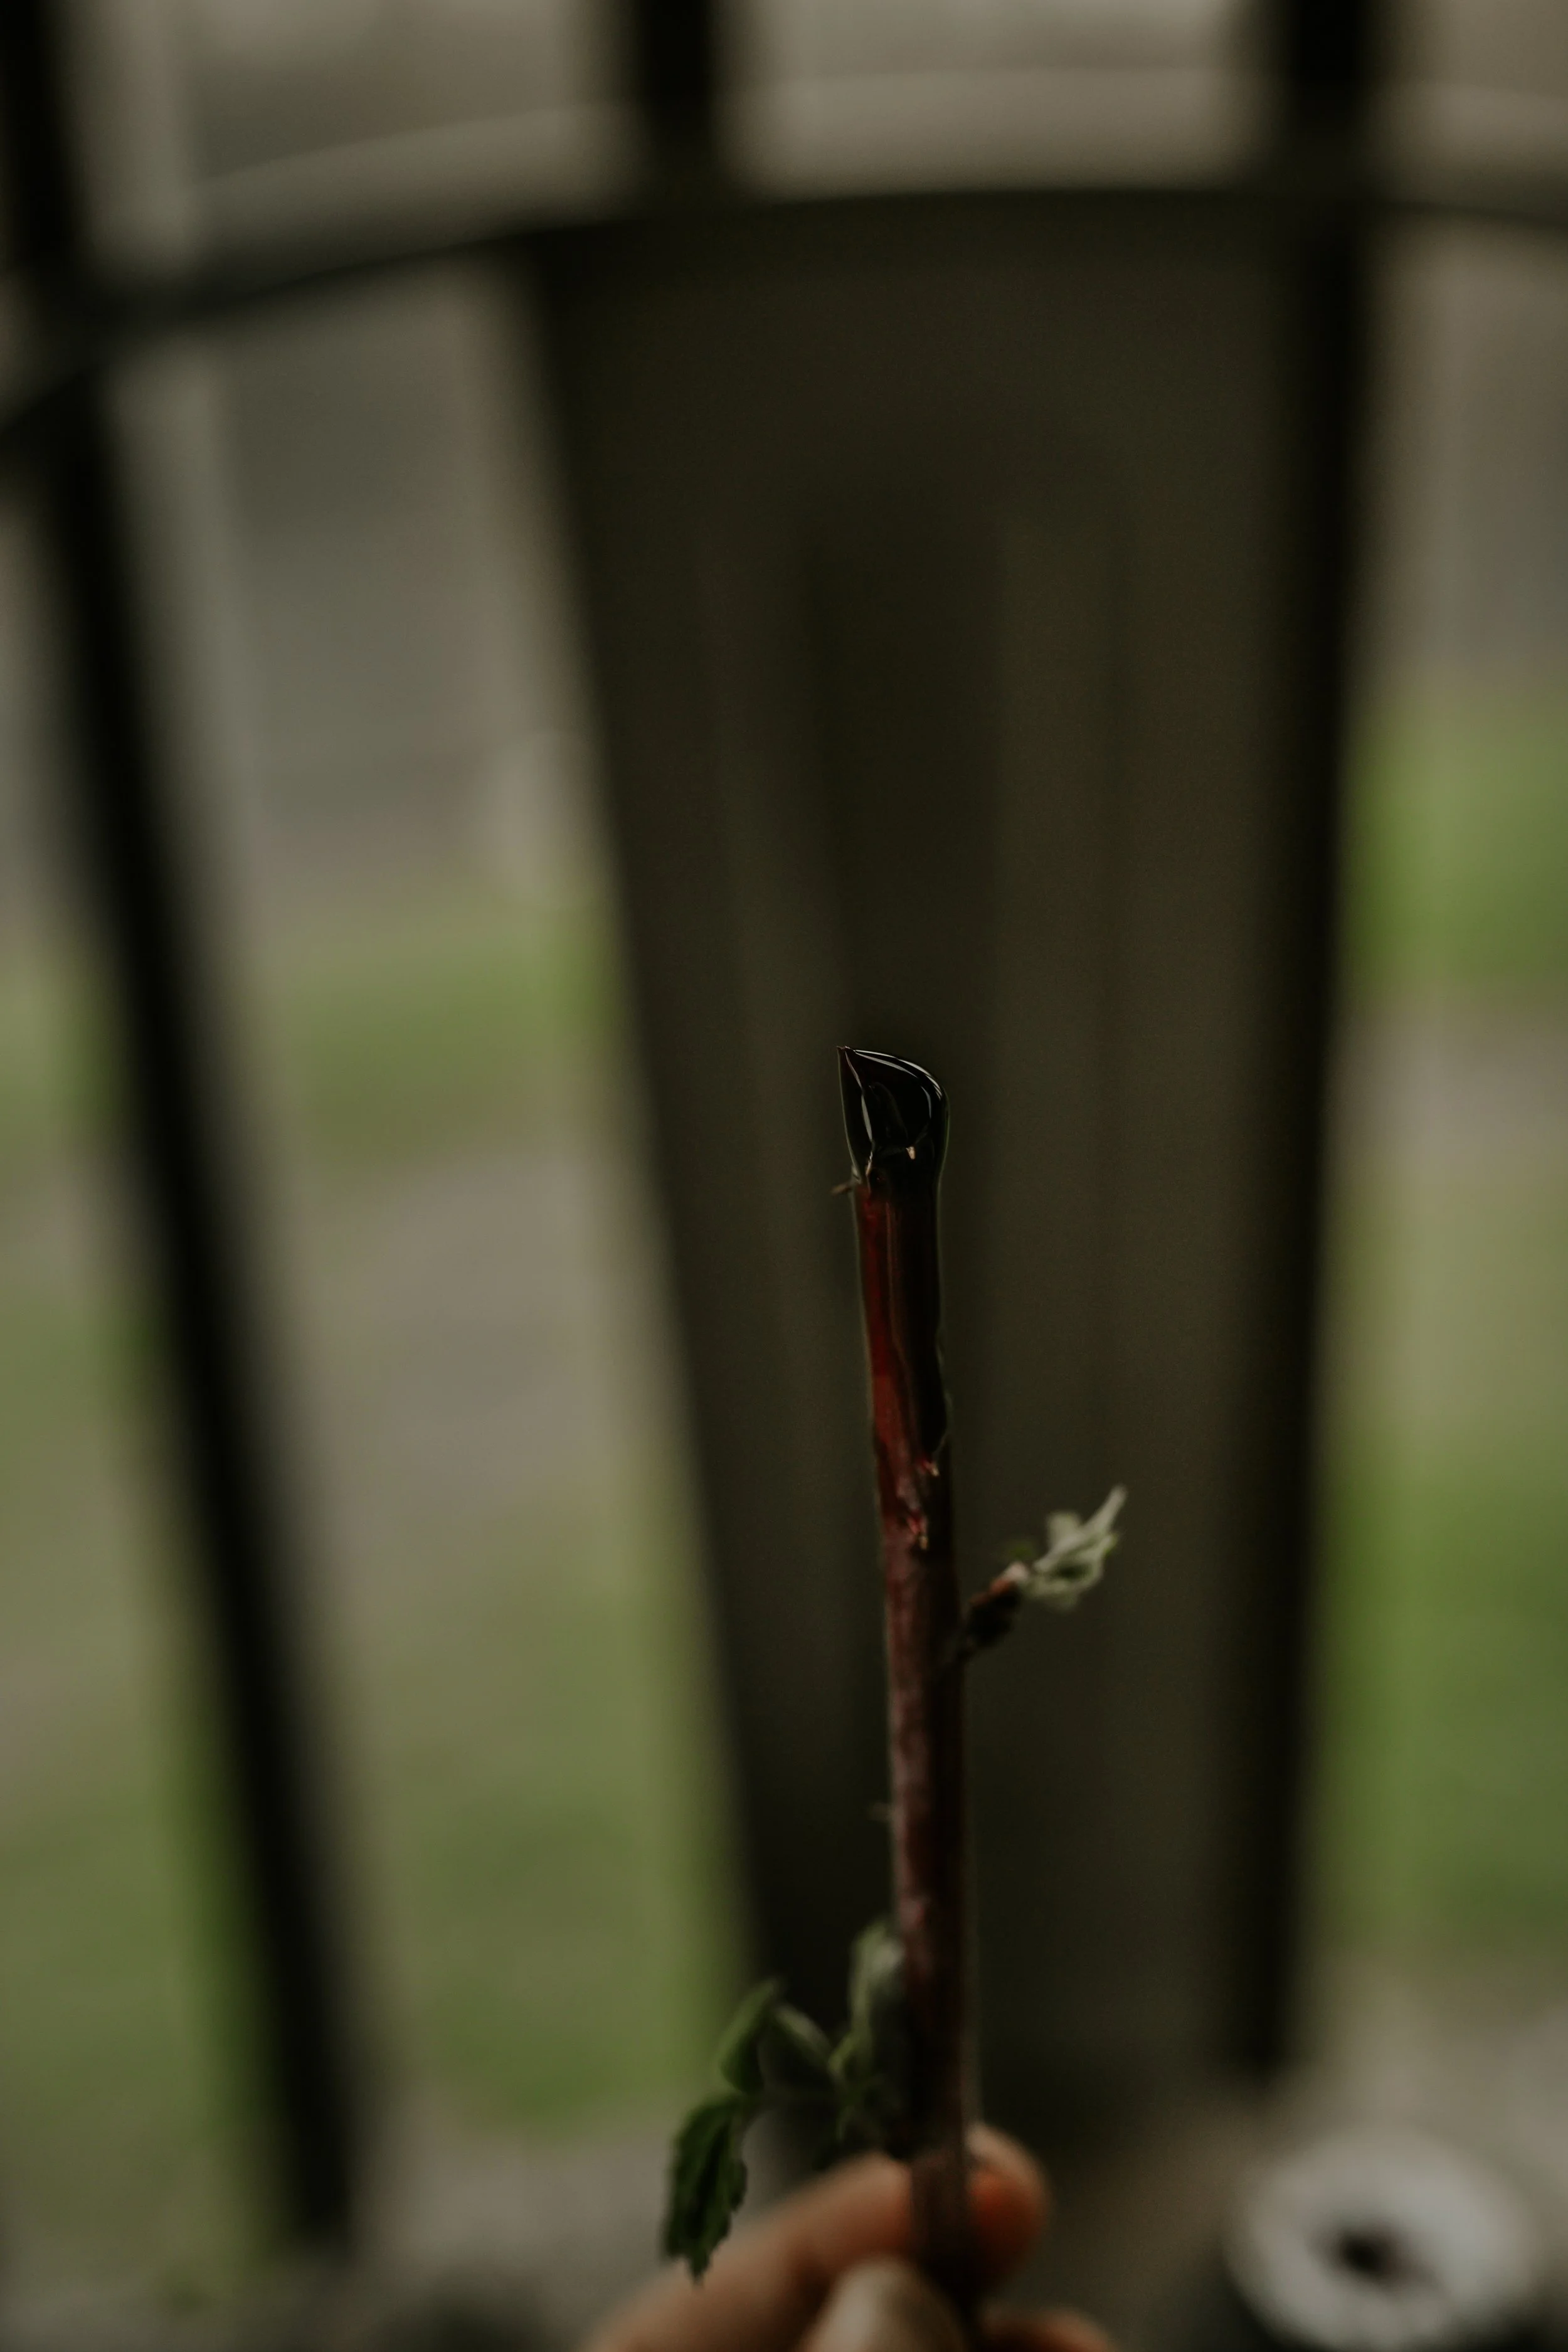
Raspberries and blackberries alike grow in what I consider to be a very interesting fashion. Although the mother (main) plant grows from the ground, the canes that she produces repopulates by allowing the TIP of the cane to touch the ground and begin to embed itself deep into the earth, and then begin rooting.
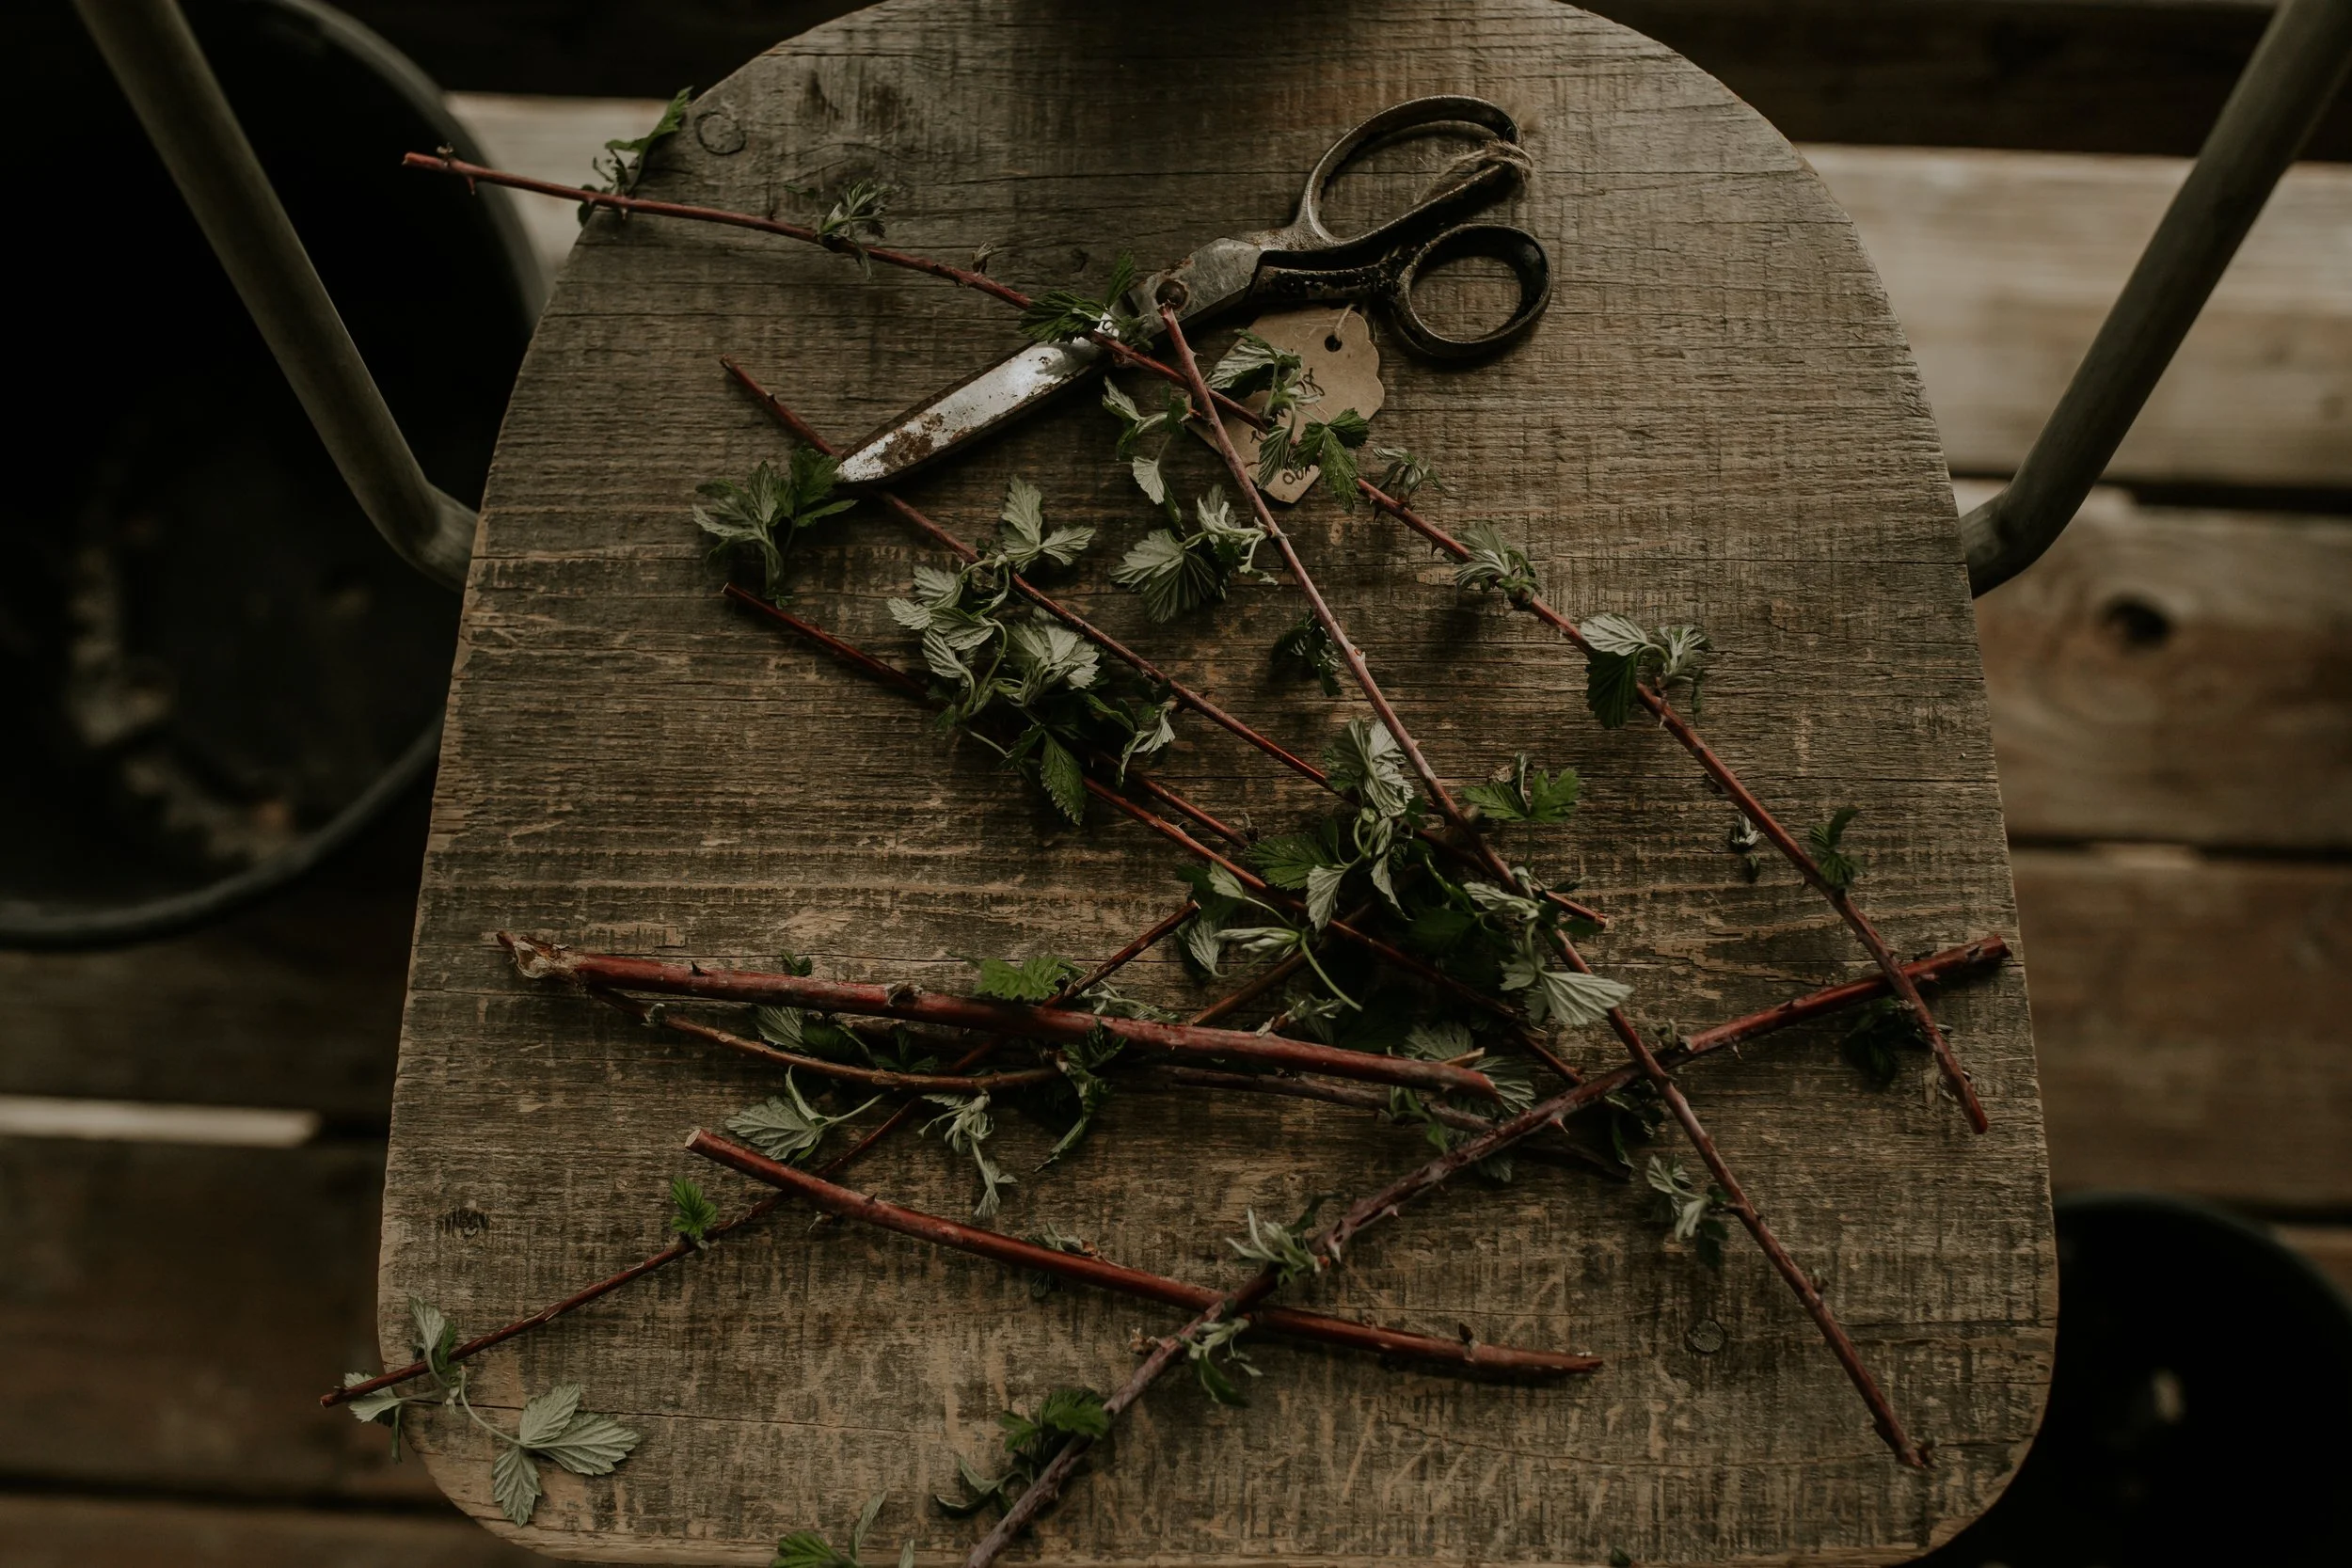
I feel as though there are many ways one could take propagations of these sorts of plants. You could simply unearth the rooted canes or you could use anything that is very sharp (as not to crush the membranes of the plant that might hinder rooting) and cut a cane away from the mother plant, which is what I did.
TIP: Black raspberries grow their fruit from the lateral canes and so, if you cut the cane, ensure that it is the one connected to the mother stem and not a lateral branch connected to the cane.


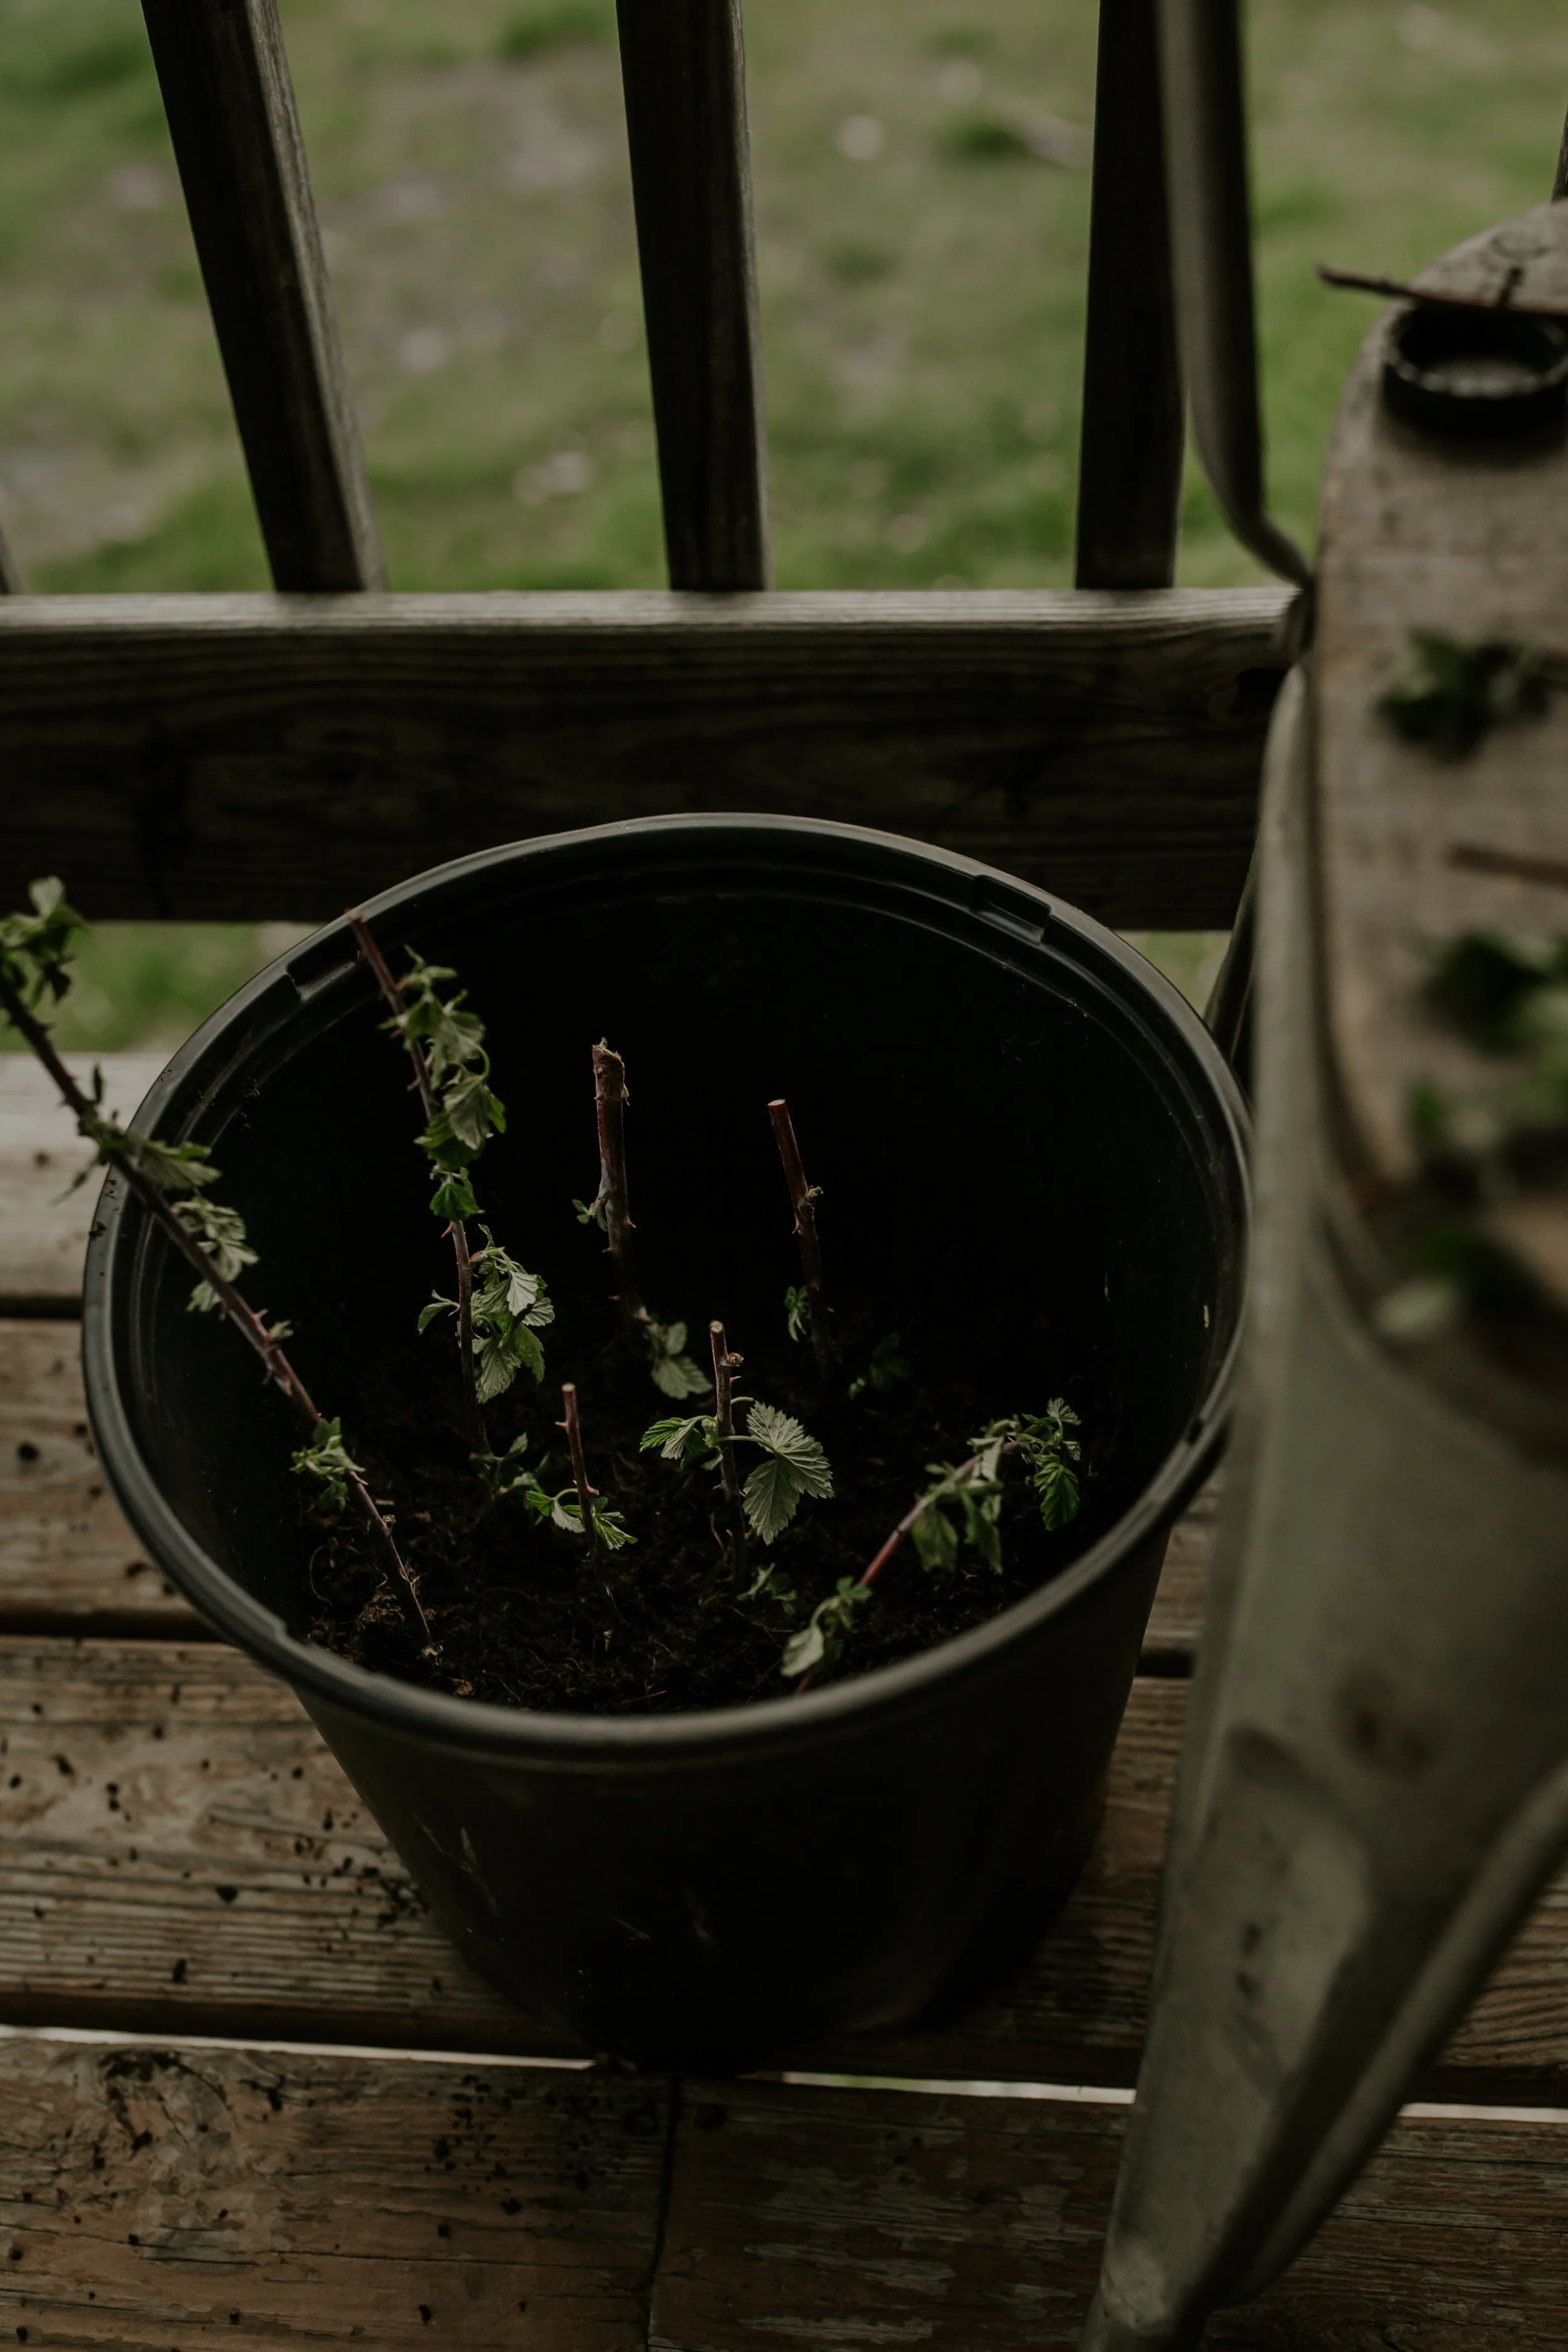
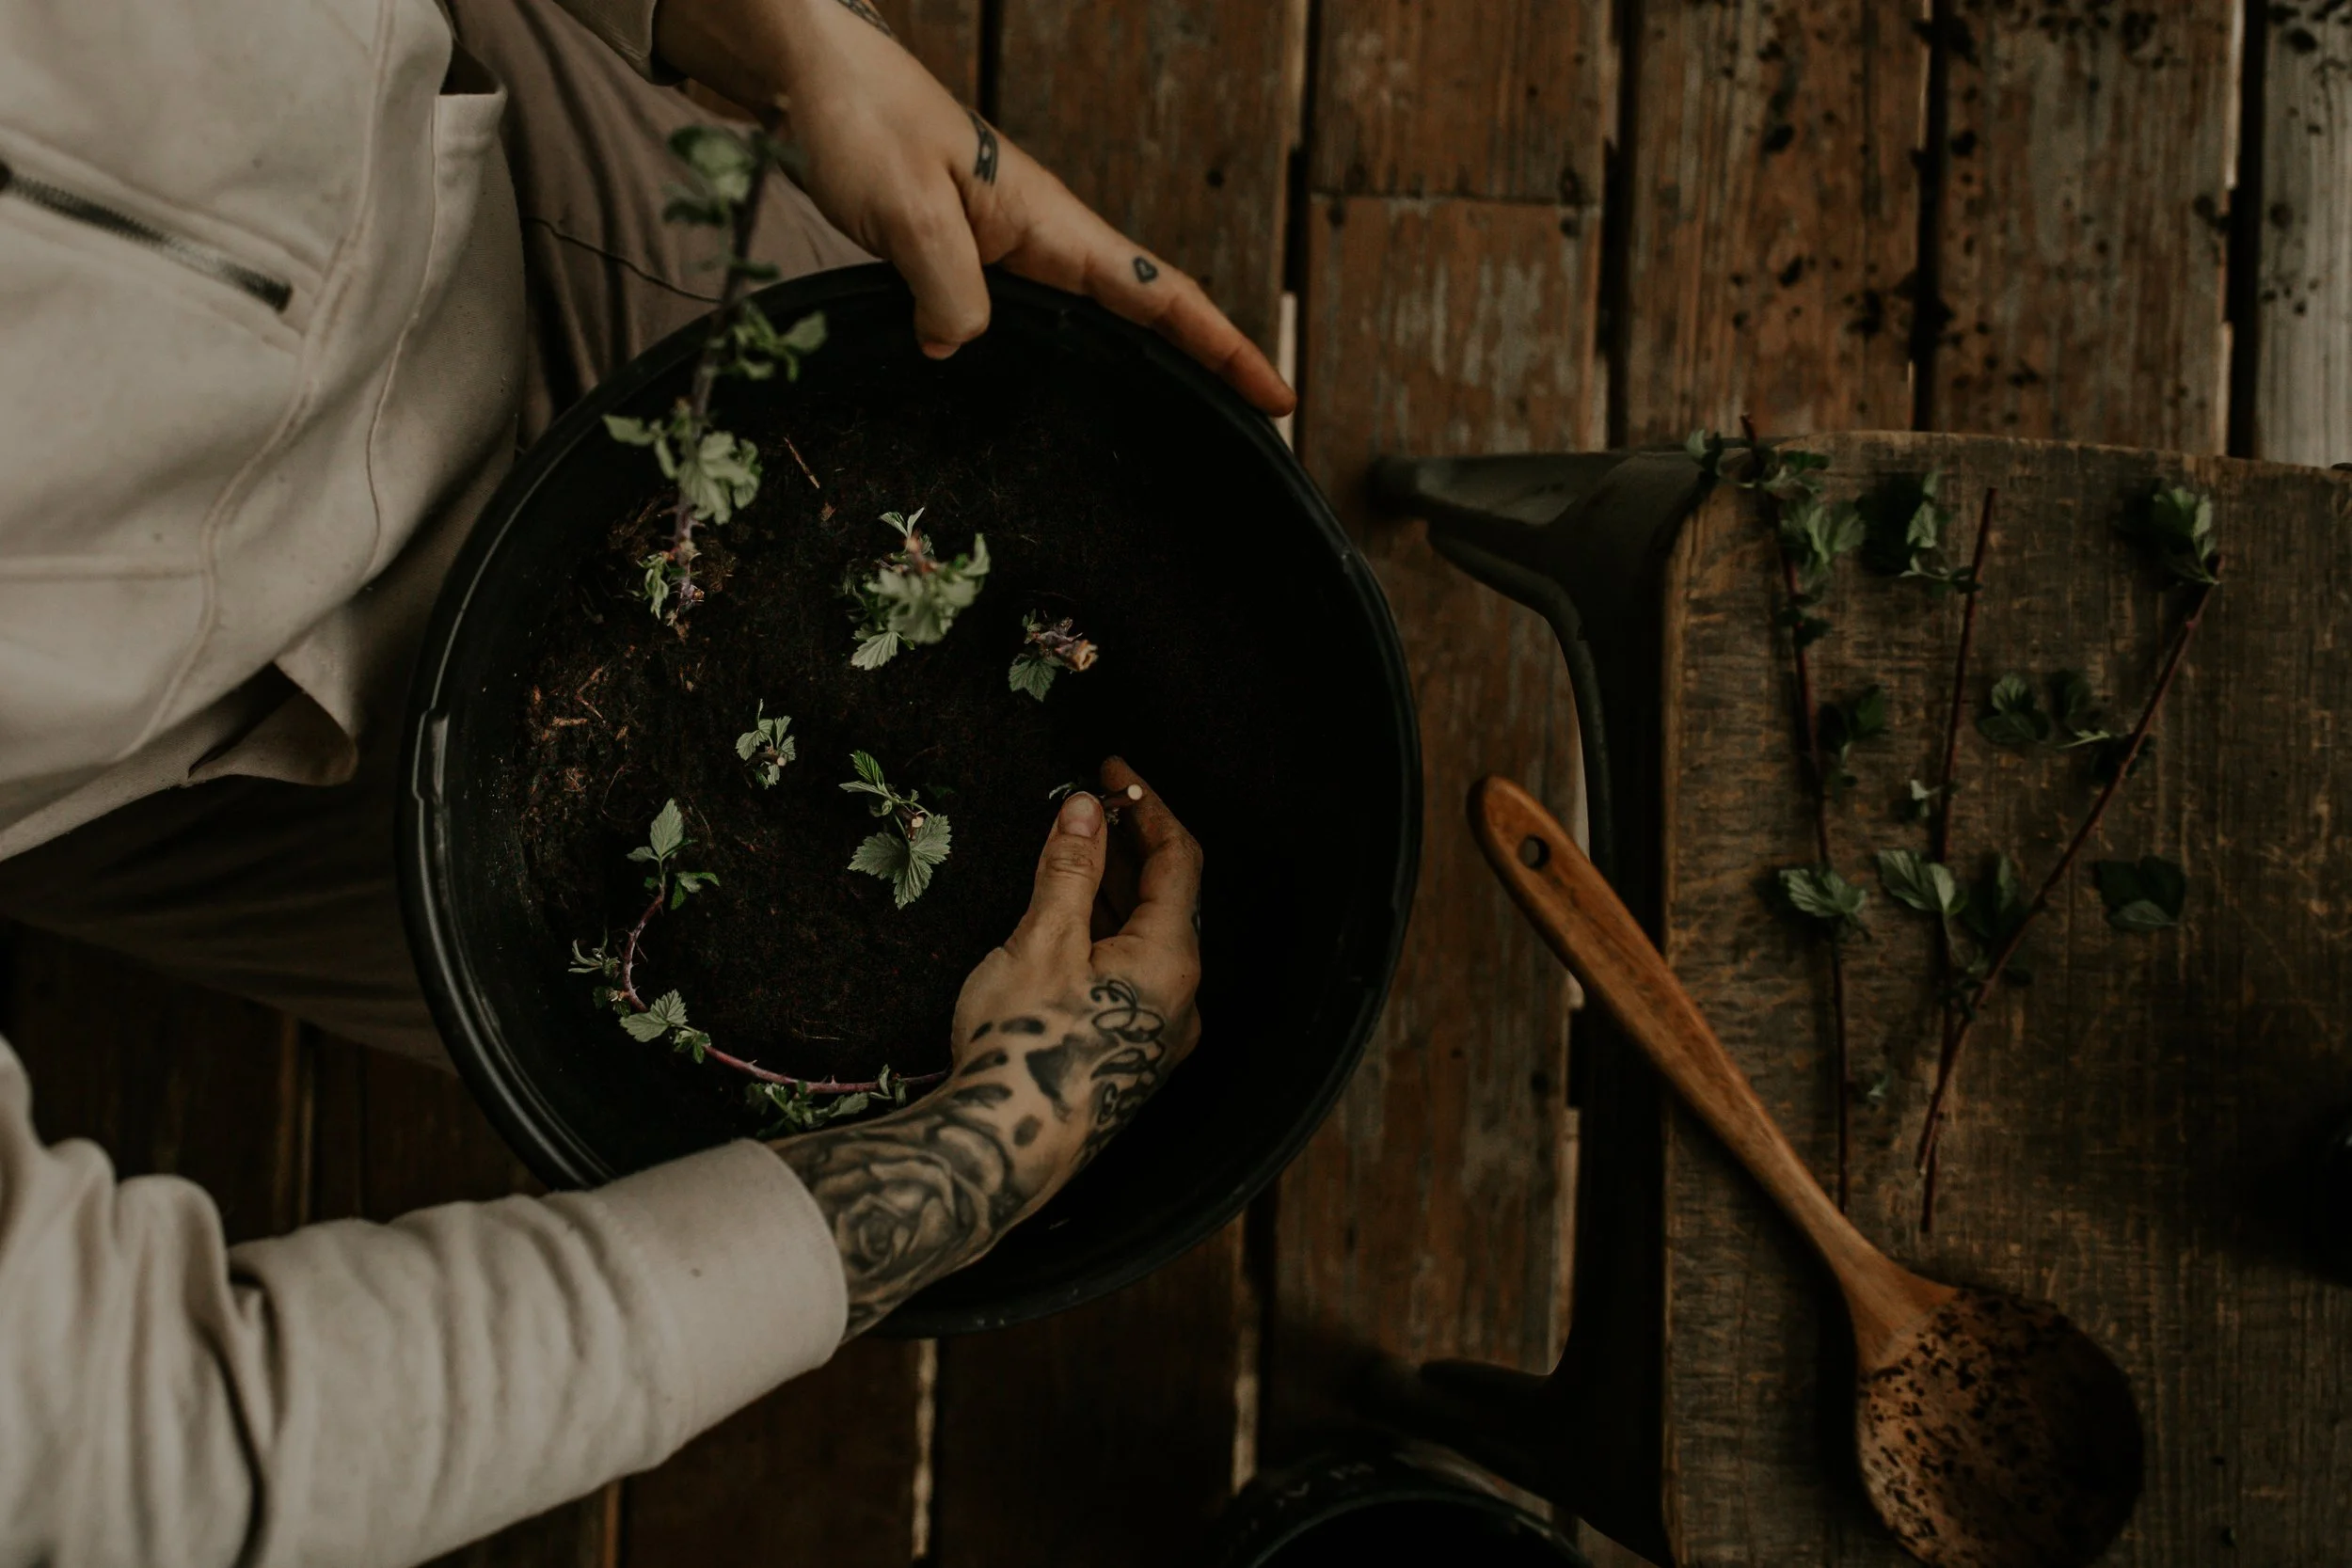
To begin propagation, I cut a cane away from the mother plant and then the cane into several 6 to 8” sections.
I dipped each cane in rooting gel (you could also use powder) up to the first leaves and lower bud
I inserted cane into our Soil Recipe and made sure the soil was damp before hand
cover the cane you’ve inserted gently (theres no need to create compaction)


You can place multiple canes in a large pot, or 1-2 canes in smaller pots, the number isn’t in my opinion incredibly important especially if you plan on transplanting !