How To Make A Sourdough Starter From Scratch
A few years ago just as others before me, I wanted to take control of my food source and begin my sourdough journey. I can’t tell you how many starters I created that ended in absolute failure or was ruined by accidental cooking or destroying by the others in the house. But in the end my life’s mottos wins yet again in the belief that failure is absolutely necessary in the advancement of success and the ability to TEACH other that verry success. So in my failure, I found some not so commonly talked about methods of creating a starter in less time than most other folks, as well as creating a very strong starter right off the bat.
But first.
T E R M I N O L O G Y
There is commonly used terminology when delving into the sourdough world that I will cover first before the step by steps. The reason I believe that the understanding of the action wording is crucial, is that I myself am a “why / how” person. This means that I often times will not succeed at something unless I understand the why and the how of it. Once I can grasp it, I can take off. In this, and in many other articles of sourdough, you’ll hear words like wild yeast, starter, fermentation and others. So lets get into it.
The most relevant terminology to focus on here is
WHAT IS WILD YEAST ?
Yeast is a living microorganism that feeds on carbohydrates and releases carbon dioxide and alcohol. Wild yeast of the genus Brettanomyces is found in the natural world and can be easily captured from plants, animals, your home, and even your skin. A sourdough starter or yeast starter for beer captures the wild yeast, and the yeast releases carbon dioxide and alcohol that helps to leaven bread and enable fermentation.
-MasterClass
WHAT IS THE DIFFERENCE BETWEEN WILD YEAST AND BAKERS YEAST
Wild yeast is captured and then grown by the individual baker or brewer before creating baked goods or beverages. Unlike baker’s yeast and brewer’s yeast (Saccharomyces cerevisiae), which are single-strain yeasts cultivated to produce consistent results and flavors, wild yeast can have variations in terms of flavors and its impact on the final product. Wild yeast is part of an environment’s natural terroir and gives different batches of bread, wine, and beer distinct flavors. Its inconsistency means it’s not typically used commercially.
-MasterClass
W H A T R O L L D O E S W I L D Y E A S T P L A Y ?
STARTER
Sourdough starters begin working when you mix liquid and flour. Mixing liquid into flour activates the friendly bacteria and wild yeast living in both your flour and your surrounding environment. Once activated, these microorganisms produce carbon dioxide bubbles, which make your bread rise.
A D I F F E R E N T P E R S P E C T I V E
As I mentioned above, I had a hell of a time getting a starter going at all. It molded, it rose and then never rose again, it developed liquid / hooch after two days even though I kept the feeding ratios above the base grams. So I wanted to give you some perspective on my situation. At the time was living in a very large older home that was constantly cold and had condensation issues. I would notice it on our windows and also the inside of my starter jar would begin for form condensation.
here’s what I did
I created a starter at less hydration than what most were recommending. This means a thicker consistency (less water).
I also as mentioned above, focused on my ability to capture as much wild yeast as I could to introduce into my initial creation. I used the apple method but, there’s another way.
Wild Yeast Water
Capturing wild yeast means to trap some yeast in a vessel and ferment it, creating a wild yeast starter. Follow these steps to make wild yeast water that can be used for baking or brewing beer:
1. Place some dried fruits into a jar. The easiest way to capture wild yeast is to put some dried fruits inside a jar. Make sure the fruit doesn’t contain sulfur dioxide. You can use fresh fruits, vegetables, or herbs, but use dried fruits for a consistent first-time experience.
2. Fill the container with filtered water. Yeast thrives in moist and carbohydrate-rich environments. Fill the jar with filtered water one inch above the packed dried fruit.
3. Seal the jar and store it. Seal the jar tightly and keep it at room temperature in a place away from direct sunlight or heat.
4. Use the yeast water. The yeast is ready when bubbles appear and the liquid is frothy on top, which will take about five days. Strain out the liquid using a fine-mesh strainer or cheesecloth. You can discard the fruit or use it for baking. You can also use the wild yeast water for baking in place of both the liquid and baker’s yeast in recipes.
tips
Prevent mold from growing in your jar. Uncap the lid to release the pressure build-up, recap, and shake the yeast water twice a day to prevent mold from growing.
Experiment with temperature. There are many variables when cultivating wild yeast, such as the air temperature and surrounding microbes. These variables and time will yield different flavors to the finished bread.
4. Make sourdough starter. Add whole wheat flour or rye flour into the yeast water to make a starter for sourdough bread. Unlike traditional sourdough starter, yeast water does not need to be fed and does not involve a discarding process. (although i still fed and discarded)
-MasterClass
W h a t Y o u ’ l l N e e d
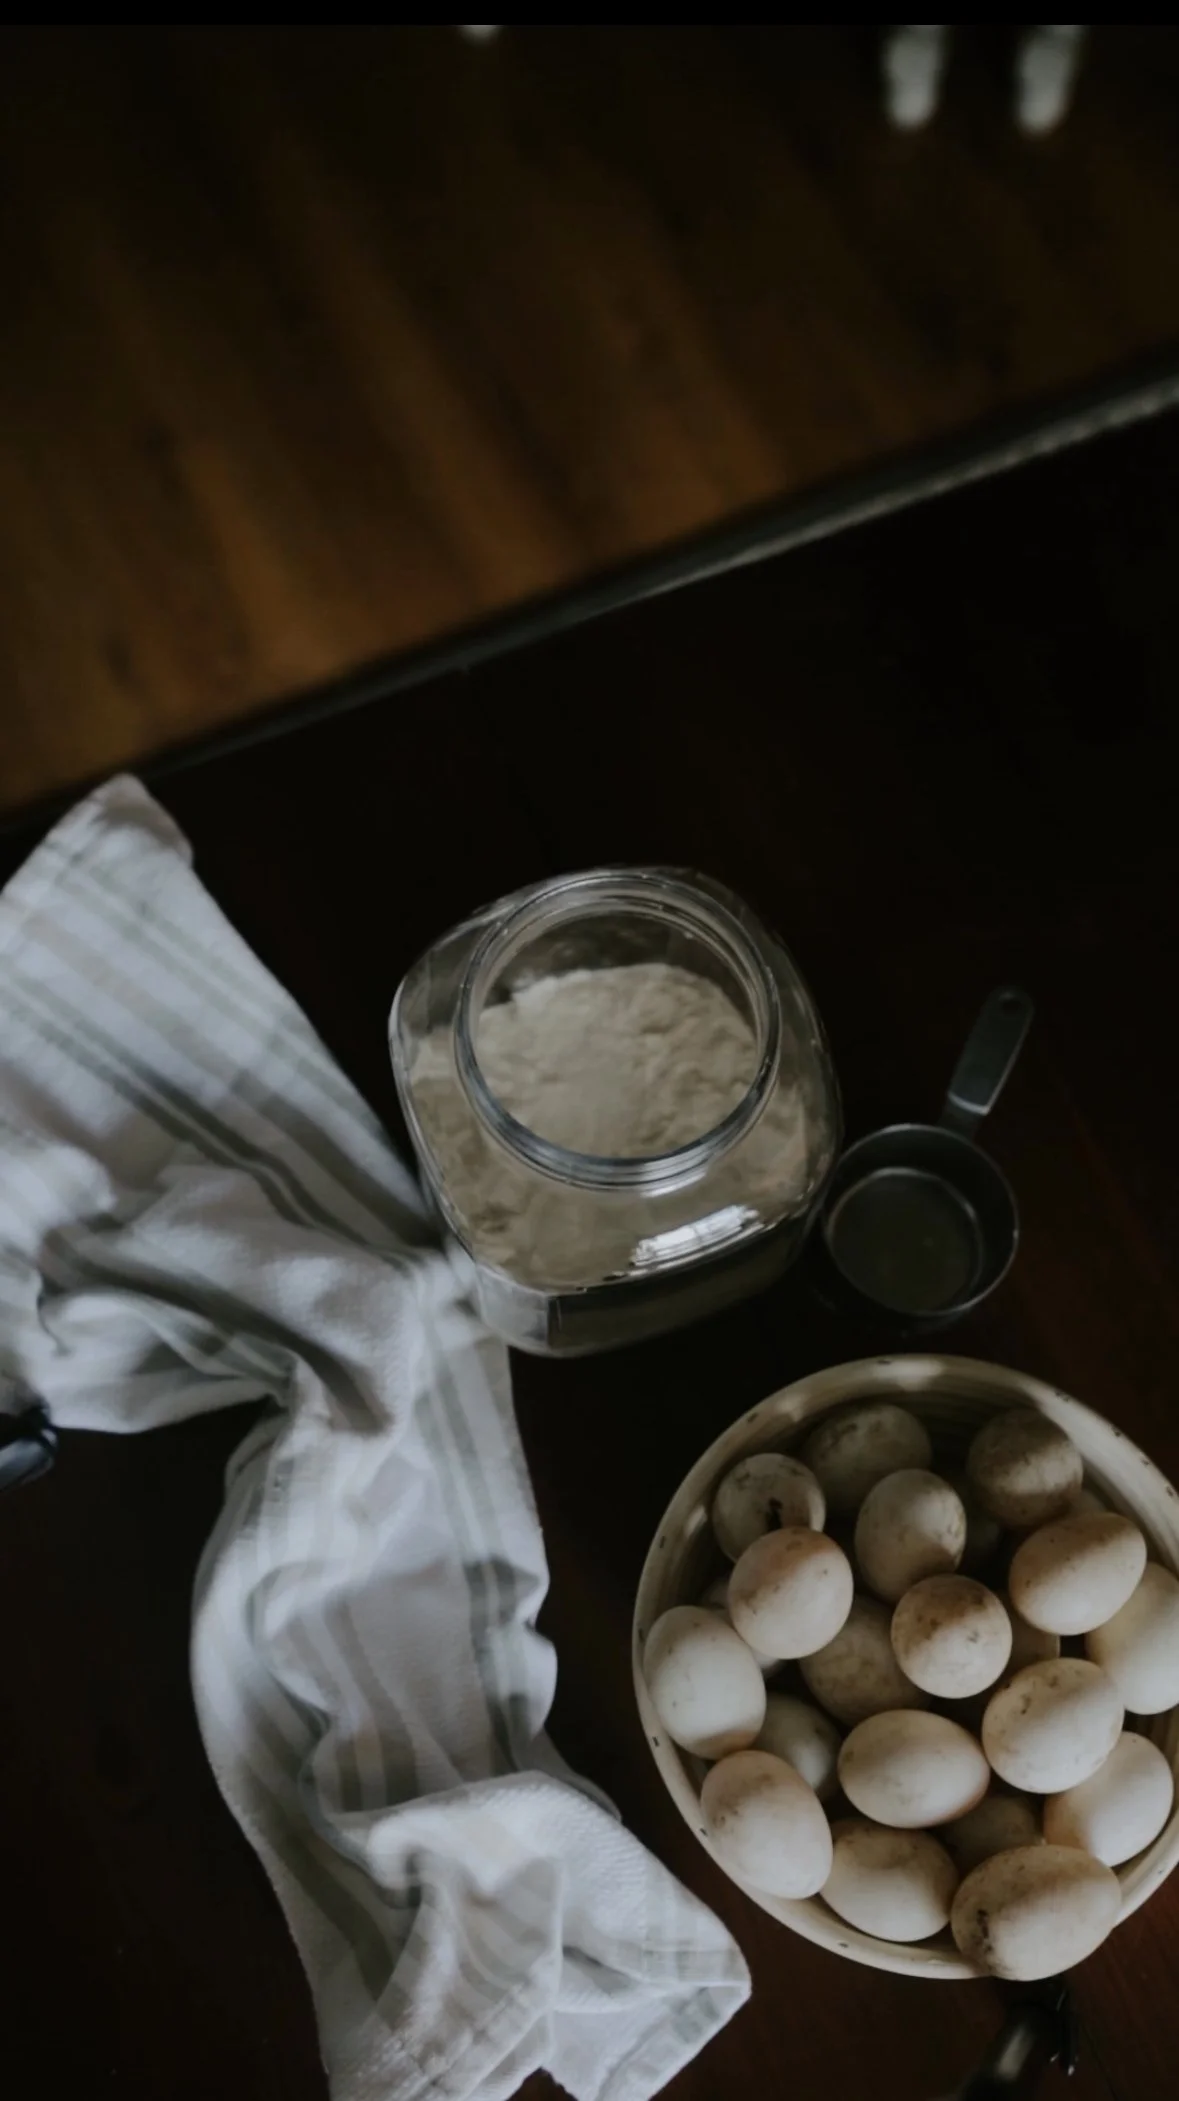
A large air-tight glass container. I like to use the a half-gallon or gallon mason or ball jars you see in my videos / photos
A mixing bowl
A silicone spatula
Wooden spoon
Liquid measuring cup
Filtered water or well water
Organic white bread flour. I use non enriched all purpose by King Aurthur. You could any flour you are comfortable with but non organics have less wild yeast as they are ultra processed
Organic all Wheat flour
One large organic apple, or substitute for two small
Cheese grater
A warm location
H O W I P U T T O G E T H E R M Y S T A R T E R
step one: FLOUR
First I start by placing my mixing bowl on my kitchen scale while it is off.
I turn on the scale and measure out 250g of my all purpose flour and then add 250g of my whole wheat flour. I found that I had the most success with adding in the whole wheat as it tends to have a higher amount of (you guessed it) wild yeast. Regardless of what flours you use, just make sure your total amount comes out to 500g.
step two: APPLE
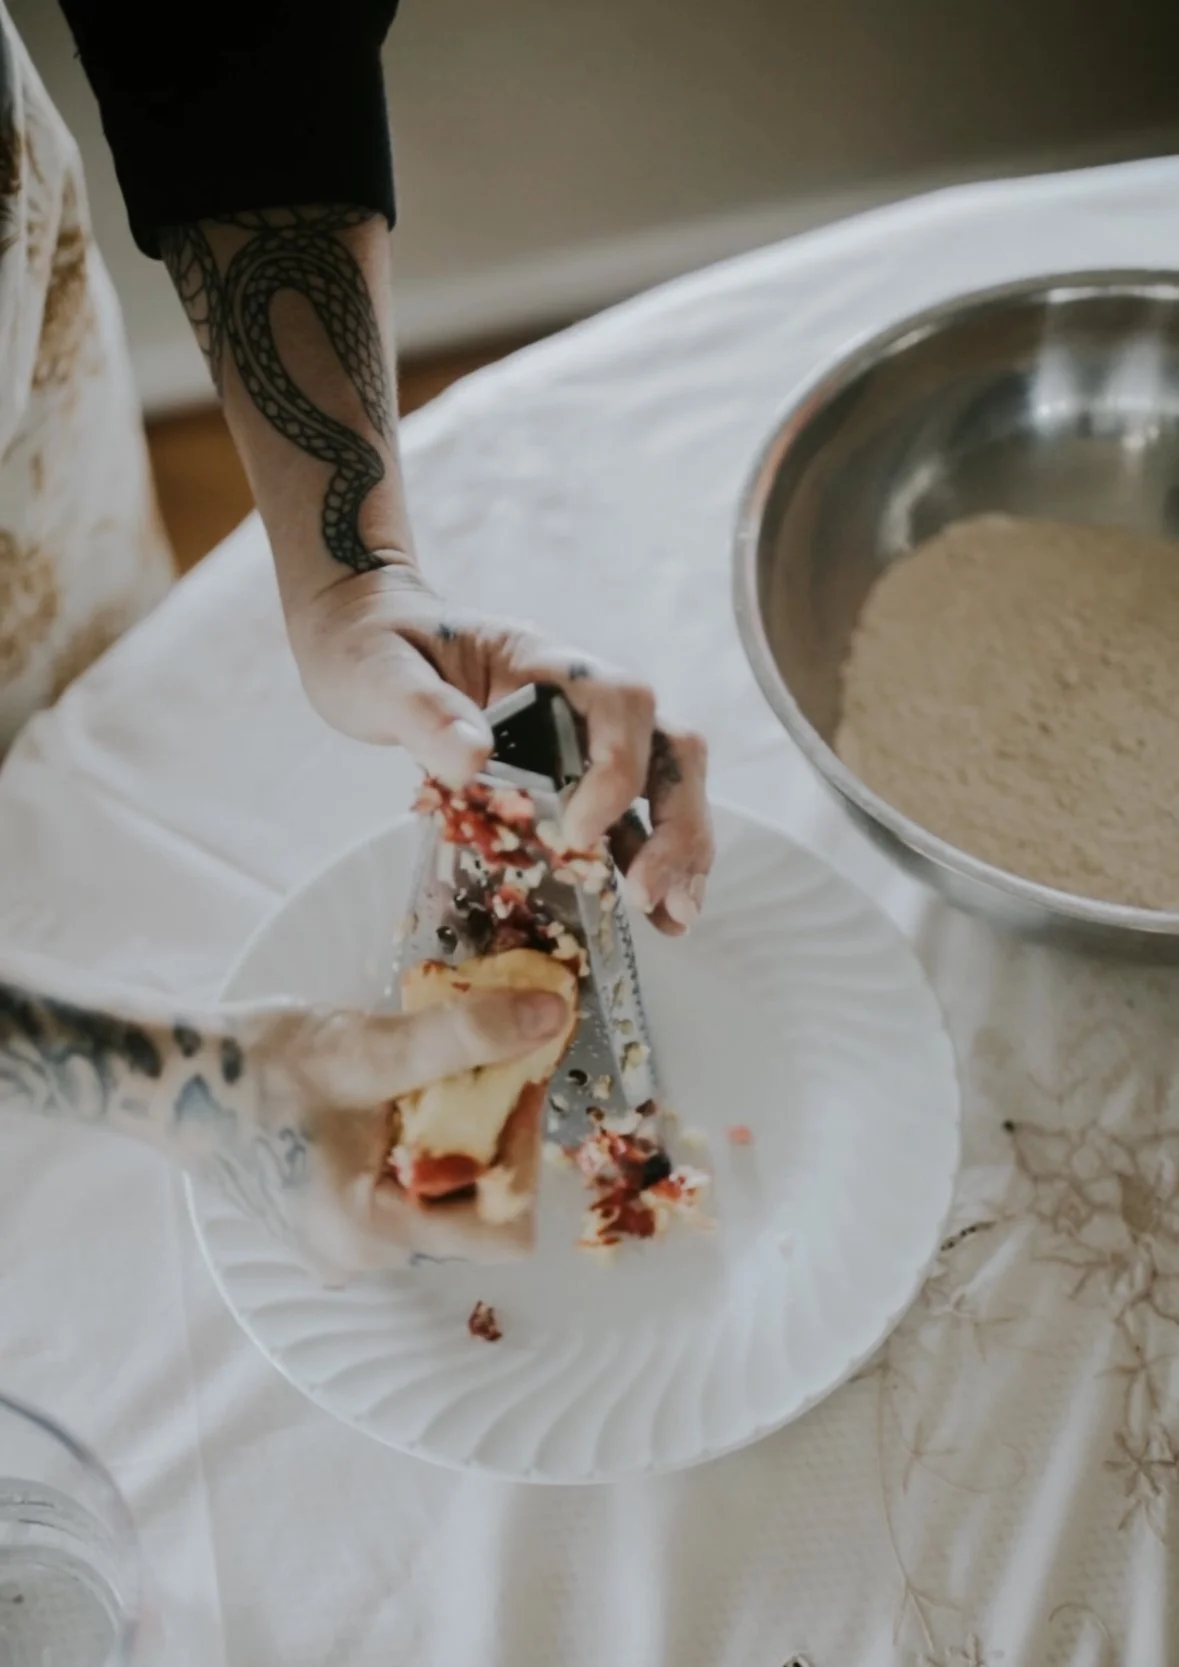
Take your organic apple(s) and grate it. Keep the skin but avoid core and seeds. Add this to your flour. There are many fruits and veggies that are teaming with wild yeast and for those of us who have tried it all, this helps increase our odds of creating a very active, strong and bubbly sourdough starter. Again, the produce MUST be organic. Non organics are heavily sprayed and contain so many things that you not only want to avoid having in your starter / bread, but that can possibly kill it.
step three: WATER
Measure out 360ml (around a cup and a half) of filtered or well water.
PRO TIP: I noticed better reaction when I used warm water.
Incorporate water a bit at a time as your stir it all in. Make sure there is no dry flour spots in your mixture. Regardless of whether you decide to measure out the water or eyeball it, you’re going to want to have a nice thick mixture. A watery starter will fail and keeping in the active bubbles which causes the rise and fall. If too watery, they may pop right out of the surface of the starter. As I said in my situation, creating a thicker consistency was key for me so you may have to play around with this. Thats what sourdough is all about, finding what works in your home - environment.
step four: Transfer
PRO TIP: I found great success in first washing my jar with super hot water and drying thoroughly just before transfering my starter.
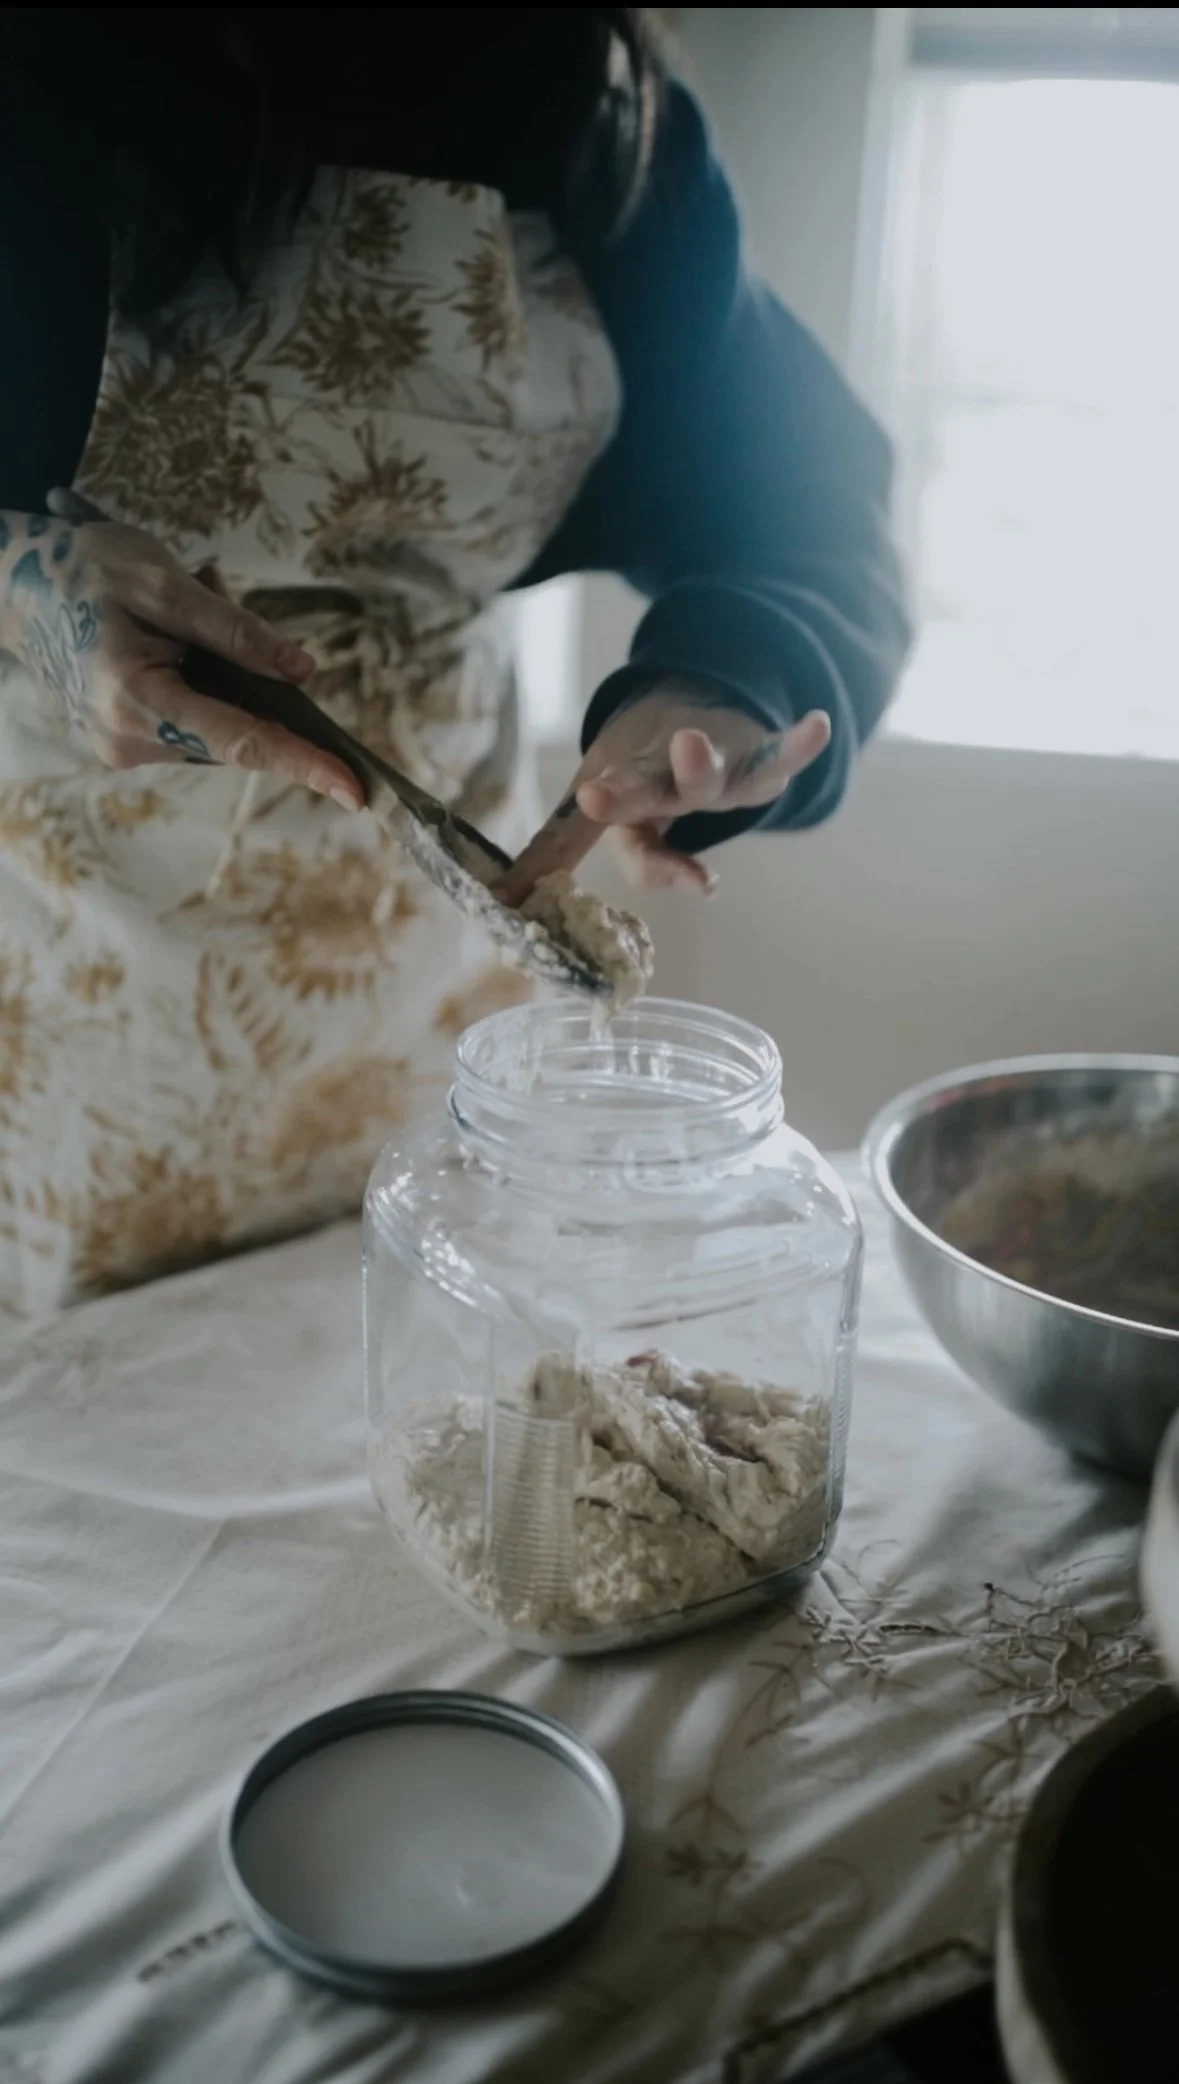
Scoop out your mixture or pour it into the jar you’ve selected. Make sure with your spatula, that you scrape the sides to clean them up, this will help with noticing markings on the glass to determine weather its risen and fallen due to activity. You could at this point use a dry erase marker to mark the exact level your starter is currently at, or as I do, place a rubber band around the jar.
step five : Let It Sit
I like to leave the lid slightly off to allow wild yeast to find its way in + avoid moisture build up that could cause mold. You could aslo cover with towel, tea cloth, cheese cloth etc. I place it in my microwave as for us, seems to be the warmest part of the house. Another place I’ve kept it is in my sons room next to his little heater. Hey like I said - whatever works. We are going to let our infant starter ferment for 3 days before the next steps.
-Pro tip- Temps between 75 and 78 degrees seems to be absolute optimal for starters. Other ways of keeping them warm are
In the oven (off) with the oven light on
In the microwave
tip top shelf of a cabinet or fridge since heat rises
on a seed warming mat
a heating pad for puppies (or humans)
on an actual starter warmer
step six: Discard
If your starter has risen that is great! Stir the starter before discarding to knock out the bubbles as distribute everything around. If your starter hasn’t risen, its ok- different environments and even altitudes will affect timing.
You can pour your starter out and measure on the scale and discard exactly half- I don’t have time for all that and I just eyeball it, but half must go. There are dozens of discard recipes however, I would wait until discard 2 or 3 to make sure all the little pieces of apple have been discarded out. Wouldn’t be that yummy to be pulling those our of your mouth when you’re supposed to be eating sourdough discard cookies!
After you discard half it’s time for
step 7: Feed
By now the yeast and cultures have eaten through the sugars and food in the mixture and need to continue to grow and ferment.
Mix in 250g of flour and 170ml of warm water. Again, depending on what’s working you can use a little less for a stiff starter or a little more, just ensure you don’t leave any dry flour patches. Make sure your jar is clean so that you can remark your level.
step 8 : Let her sit
This time she’ll sit in her warm spot for 42 hours (2 days)
Now after two more days, ideally you’ll see lots of activity! If not, again don’t fret, mine took a week longer than most other peoples.
step 9: Feed her again
After the 2 day sit, repeat the feeding instructions above. This time, if you’re seeing quite a bit of activity, you can make your starter less thick if you have been keeping her less hydrated, just don’t make it runny.
step 9: Let her sit again… this time only 24 hours
After your 7th day you should have an active ready to bake starter!
You can do a float test by dropping a glob into water and if she floats she is ready. You’ll likely see loads of bubbles through out the top and sides looking very spongey.
If this hasn’t happened, continue to feed every other day. The reason could be to many temperature fluctuations which makes an unstable environment. Do your best to keep her warm! Mine took two weeks.


